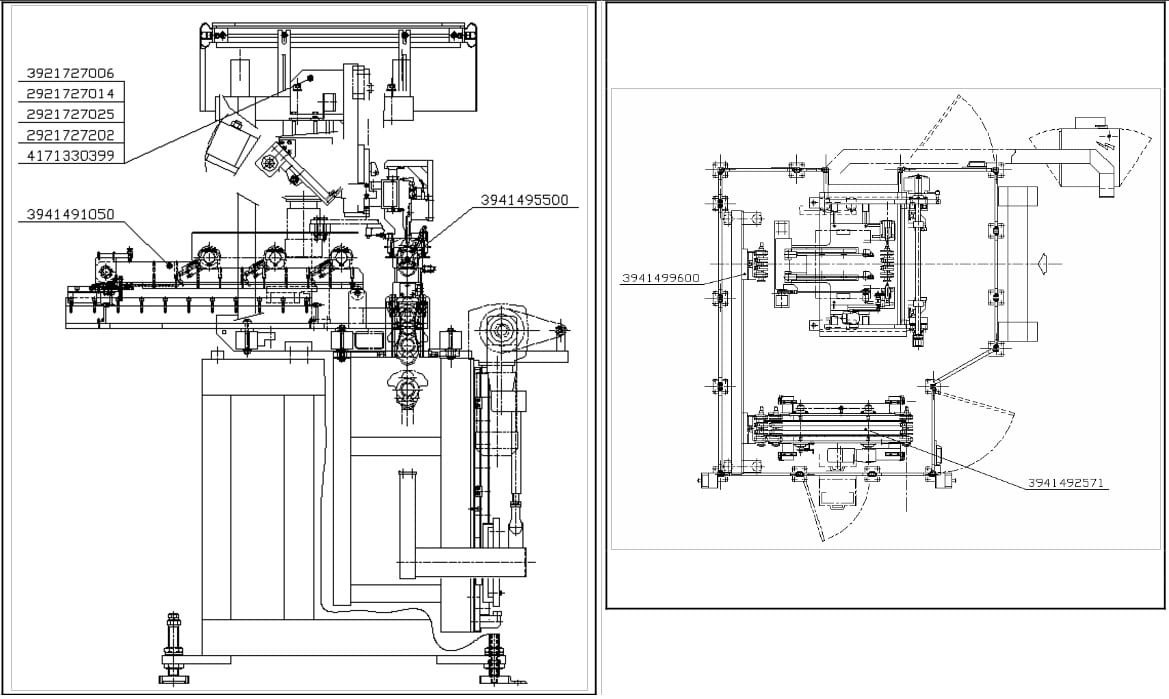
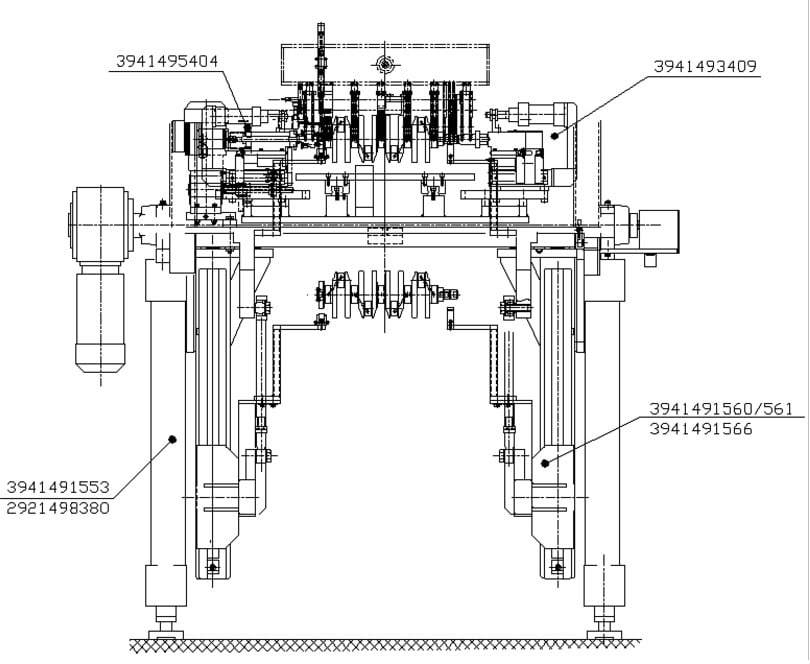
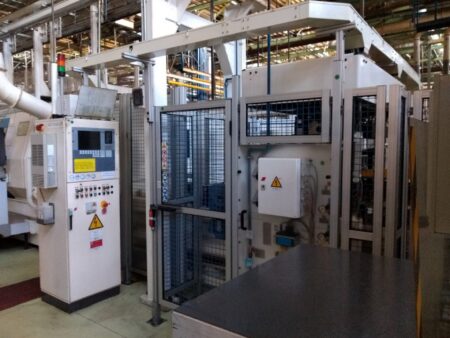
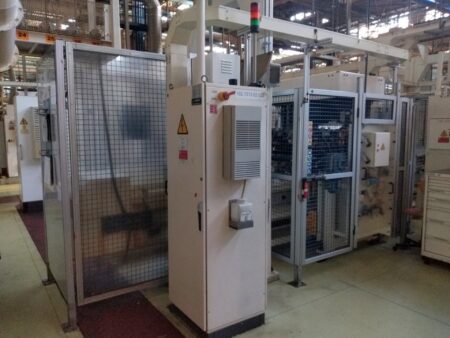
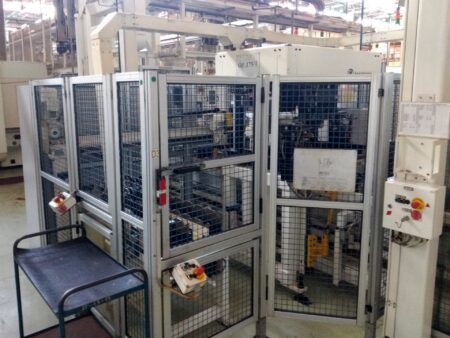
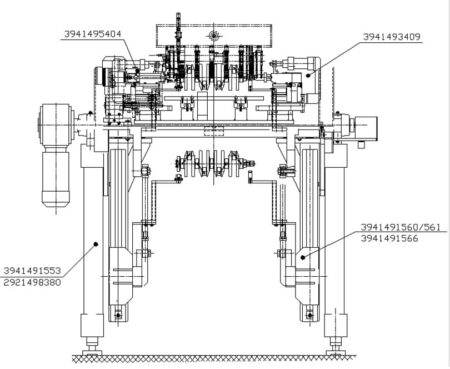
MARPOSS M110 measuring machine for crankshafts was manufactured in 2002 by MARPOSS S.p.A. in Italy. The machine is designed for measuring SDI 4-cylinder engine shafts. It is equipped with a SIEMENS S7-300 PLC controller, a channel for rejected parts with a capacity of 10 pieces and a shuttle conveyor which takes rejected parts from pallets and deposits them in the rejecting channel.
The MARPOSS M110 measuring machine carries out the following checks on engine crankshafts:
- measurement of diameters in three sections of main journals
- measuring in 1 cross-section of a flange
- measuring the stem diameter in 3 sections
- measuring the concentricity of the main journals
- measuring the concentricity of the 28th diameter stalk
- measuring the concentricity of the shank diameter 29
- flange concentricity measurement
- measuring the concentricity of major journals
- measuring the cylindricity of major journals
Workpiece measurement cycle on the M110 machine
Measurements are obtained using a dynamic method. One prestop locks the pallet with the workpiece under the measuring station and then the elevator raises the motor shaft for the measurement. Two guides, which act on the first crankpin on the flywheel side, always pointing downwards (in and out), correct its angular orientation, guaranteeing the alignment of the drag holes-pin.
The loose blade and the motorised blade close simultaneously lifting the workpiece from the “V” of the lifter. The pins placed on the motorised blade enter the corresponding holes on the workpiece in order to properly pull it through during rotation. The measuring station’s geared motor transfers the measuring cells to the workpiece, which is set in rotation.
After a half-rotation of the workpiece, which is necessary for the mechanical adjustment of the apparatus, measurements are taken. Another rotation returns the workpiece with the same orientation as when it was loaded. The measuring cells rise again; when they are released from the workpiece, the blade and counter blade open in turn. The workpiece again falls onto the “V” of the elevator, which transfers it back onto the pallet below.
If the workpiece is good, it continues along the line. If, on the other hand, the shaft is classified as defective, the mandrel is positioned back on the pallet but is stopped by a prestop 1300 mm after the measuring axis.
At this point, the shuttle picks up the motor shaft by means of a pneumatic cylinder (mandrel and flange), lifts it off the pallet and is transported by means of a geared motor to the “V” reference of the reject channel. The geared motor of the reject channel then actuates the “V”, which picks up the motor shaft and transports it to the 1st station of the fixed “V” of the reject channel until it is filled.
Technical data of the MARPOSS M110 crankshaft measuring machine
- PLC controller: SIEMENS S7-300
- electronic measuring instrument: Marposs E9066
- number of measuring bits: 44
- total number of measurements: 38
- workpiece cycle time: 22 seconds
- cleaning and calibration cycle time: 42 seconds
- time of unloading defective workpieces: 29 seconds
- drive type: electromechanical and pneumatic
- channel capacity for rejected workpieces: 10 pcs.
- air conditioner: RITTAL SK3203-100
- working pressure: 0.45 MPa
- safety pressure: 0.40 MPa
- supply voltage: 24 Vdc
- average air consumption: 6 Nm3/h
- supply voltage: 380Vac three-phase
- frequency: 50 Hz
- maximum power consumption: 5 KVA
- nominal current: 7.5 A
- MARPOSS M110 machine dimensions (L x W x H): 4400 x 3850 x 2600 mm
- machine weight: 3500 kg

 Čeština
 Français
 Español
 Deutsch
 polski
 Русский
 Slovenčina
 Magyar
 Italiano
 Türkçe


